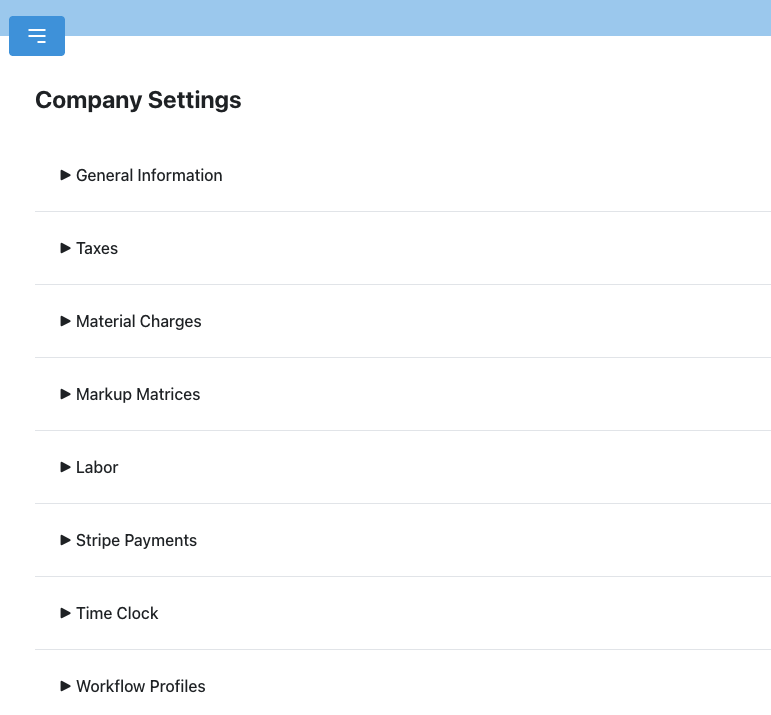
Company Settings
Overview
Company Settings is where admins configure shop-wide defaults. Access it from the side menu → Manage Company. Each section is expandable.
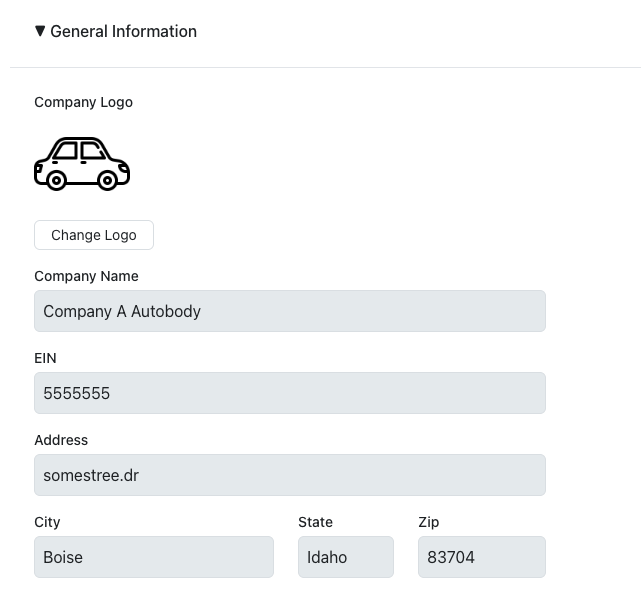
General Information
Set your company name and other basic information.
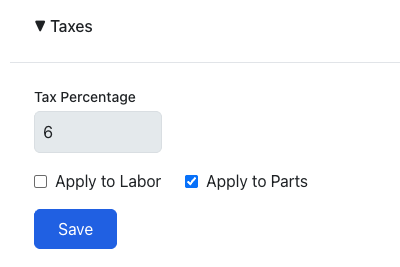
Taxes
Configure your tax percentage and choose whether tax applies to labor, parts, or both. When new parts or labor are added to a job, they will automatically inherit these taxable defaults.
- Expand the Taxes section.
- Set the tax percentage.
- Check "Apply to Labor" and/or "Apply to Parts".
- Click Save.
Material Charges
Set company-wide defaults for body supplies and paint supplies rates. These defaults are used when creating new jobs. Individual jobs can override these values.
- Expand the Material Charges section.
- Enable Body Supplies and/or Paint Supplies.
- Set the per-hour rate and taxable status for each.
- Click Save.

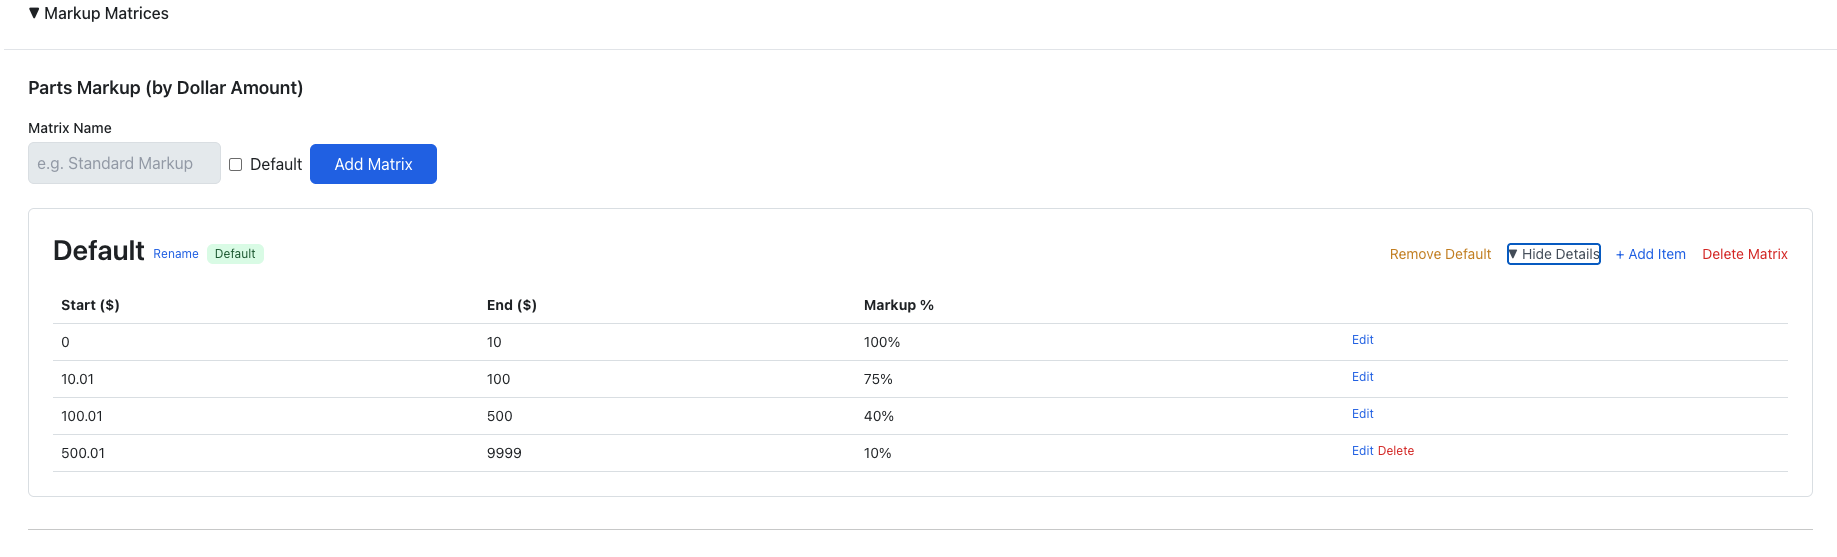
Markup Matrices
Overview: Markup matrices define price ranges and markup percentages. There are three types: Parts (by dollar amount), Labor (by hours), and Refinish Labor (by hours). You can create multiple matrices and set one as default.
- Expand the Markup Matrices section.
- Enter a name and click "Add" to create a new matrix.
- Click "Show Rates" to expand and add price range tiers with markup percentages.
- Set one matrix as "Default" — it will auto-apply to new jobs.
Labor
The Labor section contains two sub-features:
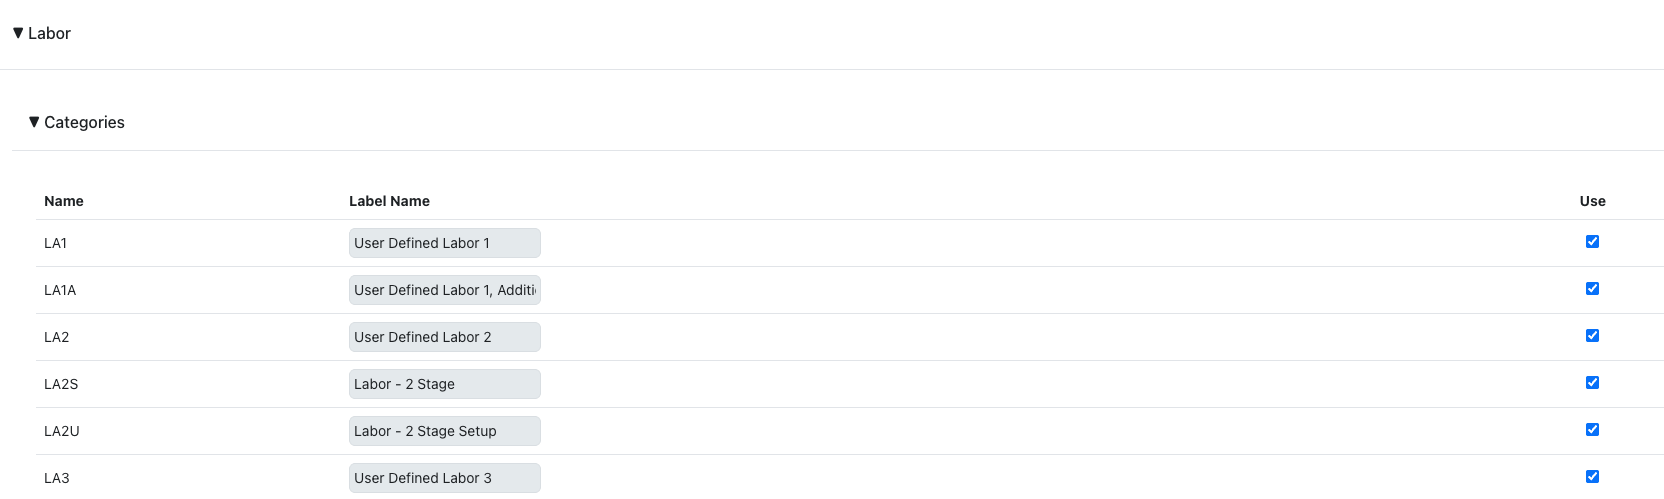
Labor Categories
Customize the label names for labor types (Body, Frame, Mechanical, etc.) and enable/disable which categories your shop uses.
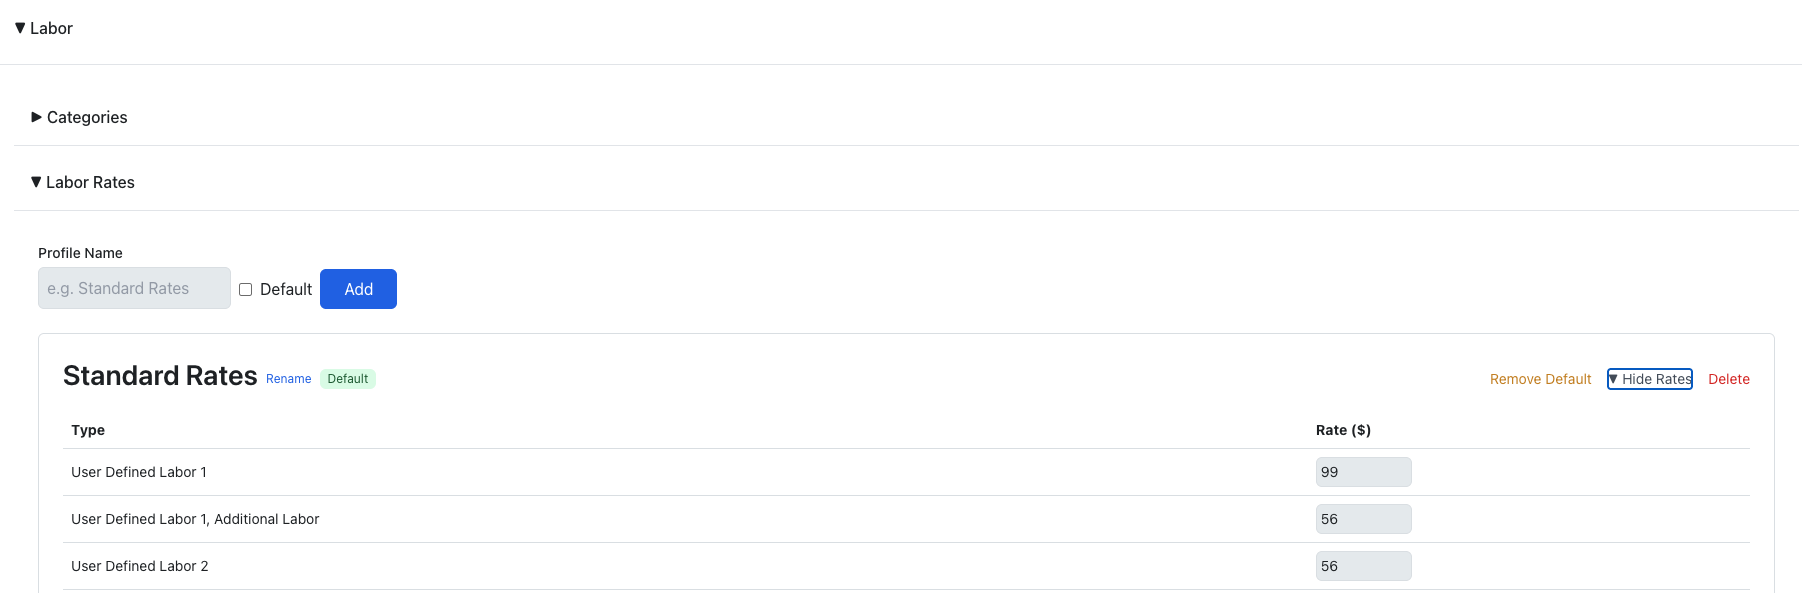
Labor Rate Profiles
Create named rate profiles with per-type hourly rates. Set one as default to auto-apply to new jobs.
- Enter a profile name and click "Add".
- Click "Show Rates" to set hourly rates for each labor type.
- Set one profile as "Default".
Service Categories
Overview: Service Categories allow admins to organize canned job templates (services) into named groups for easier browsing and filtering.
- Navigate to Company Settings from the side menu → Manage Company.
- Expand the Service Categories section.
- To add a new category, enter a name in the input field and click "Add".
- To edit an existing category, click on its name to edit it inline, then save your changes.
- To delete a category, click the delete control next to the category you want to remove.
Category names must be unique per company (case-insensitive comparison). Names are limited to 100 characters. Deleting a category removes it from all associated service templates without deleting the templates themselves.
Categories created here appear as filter options in the Services panel when adding line items to a job.

Stripe Payments
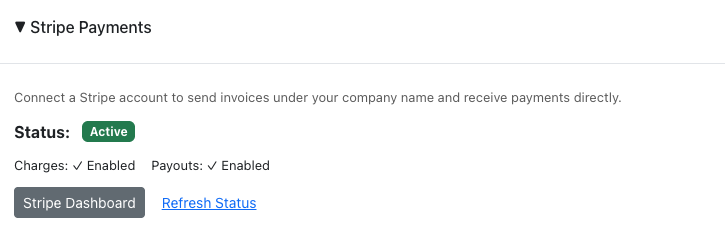
Overview: Connect a Stripe account to send invoices under your company name and receive payments directly. At no point does payment information exist in Repair Bay Evolution.
- Expand the Stripe Payments section.
- Click "Set Up Stripe Account" to create a connected account.
- Complete the Stripe onboarding process (you'll be redirected to Stripe).
- Once onboarding is complete, the status shows "Active" with charges and payouts enabled.
- Use "Stripe Dashboard" to access your Stripe account directly.
Time Clock
Admin view for managing all employee time entries. See the Time Clock Admin section in the Time Clock & Reports guide for details.
Membership
View and manage your subscription. See the Manage Subscription section in the Getting Started guide for details.